I've realized that since there are so many tutorials out there, I'm doing a documentation of my experience rather than trying to help others, which this can still be used for, by the way. That's why I'm calling it a documentation/tutorial because the primary purpose is to record my experience while a secondary purpose is to help beginners such as me.
Today I soldered some bullet connectors (which I need to get more of and charged my battery for the first time. I'll explain everything in the order I did them:
Soldering the Bullet Connectors:
This took a pretty long time because I couldn't get the red protector on the bullet connectors. I ended up using electrical tape instead. I'm ordering more bullet connectors so I can use the red covering since I completely destroyed mine.
The first thing I did was cut the lengths of wire I needed. I used a wire cutter/stripper, but I think there are other options (although I'm not sure trying to cut with scissors would be a good idea. Since I was only going to use these lengths for charging, I cut them relatively short.
I cut two of these. If I were professional, I would have cut one red wire and one black wire for positive and negative, but I only have this roll of 16 gauge wire and I don't feel like going out and buying more. I then stripped each end with the same tool. If you don't have a wire stripper, use a knife. You can cut the end off, but it's usually not as neat.
At first, I stripped too much off. There was still wire showing after placing the ends in the bullet connectors. The ends should end up looking more like this (about half as long:
After cutting and stripping the wires, I went outside and got my solder and soldering iron ready. I used the 30 watt setting of my soldering iron and I used .062" diameter solder.
The first thing I did was cover one of the ends of one of the wires in solder. That way, It fills up empty space in the bullet connector.
I then put the bullet connector pointing up on an alligator clamp. It's important to have something like this because it gets hot and is hard to hold in this position otherwise. I filled it mostly with solder, then I put the soldered end of the wire into it. If it dries before you can put the wire in, heat it up with the soldering iron as you place it in. Solder melts easily, but dries fast.
I did this with both bullet connectors: one on each wire. I couldn't get the red protector on right, but know how now, but too late. I'll demonstrate when my new ones come in. Instead, I put electrical tape around the sections that would be exposed. It works, but isn't as elegant.
Plugged into the battery, they look like this:
Charging the Battery:
Now to the primary part: charging the battery. To start, I needed to plug in all the cords to connect the battery to the charger. There are two separate spaces for male bullet connectors on the charger; one for positive and one for negative. There are alligator clips that come with the charger that go here. On the right side are several slots with pins. This is to keep track of the separate cells in the battery when balancing. I'm using the one with four pins since it's decided by number of cells + 1 (for ground I think).
I started by using the alligator clips. I clipped them to the exposed ends of each one of the soldered wires. Make sure the red alligator clip is on the male bullet connector and the black one is on the female one. Also make sure they're plugged into the right slots in the charger.
Afterwards, I plugged the bullet connectors into the battery and plugged the battery's balance plug into the charger.
I actually did the next step first because I wasn't thinking properly. All it is is plugging the charger into the wall. It doesn't make much difference when you plug it in, but it's a tiny bit safer if you wait.
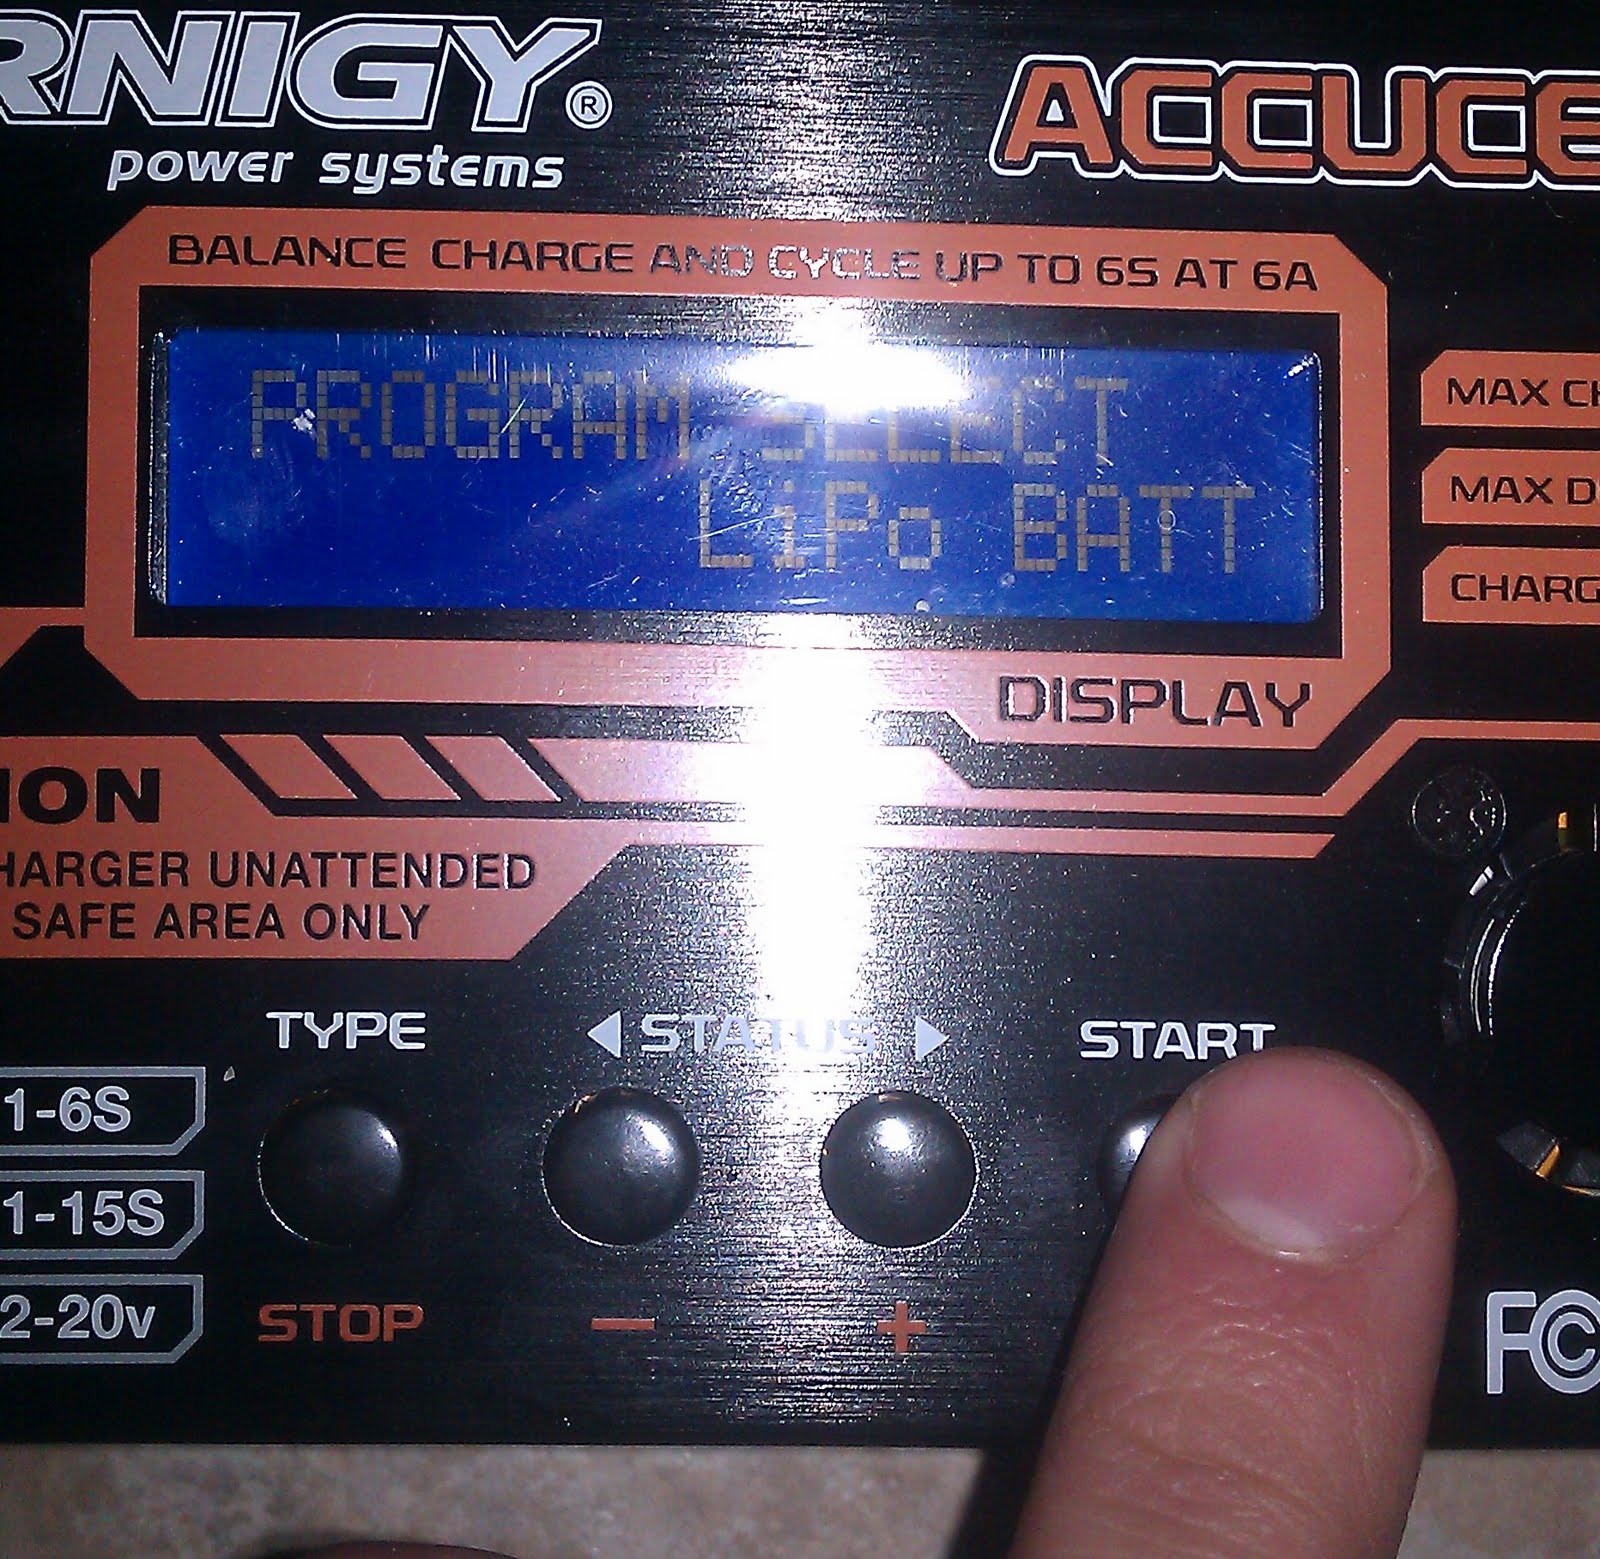
I then had to go through the charger's menu to charge my battery properly. First, I had to choose LiPo battery, so I just pressed "Type" and cycled through with the left and right arrows until I found it. Then I pressed "Start".
I then had to get all the values I needed from my battery, which were cells, voltage, and amps. The cells and voltage were already right because of the balancing plug. It automatically assumes 3.7 volts per cell, which I guess is standard. This is a picture of the battery, showing how I found everything:
This is the screen on the charger.
0.4 should be 4.0. I didn't know at the time.
Here's the whole arrangement before I began charging (minus the alligator clips which got cut off). The yellow boxes show where the connections should be. I held down start for three seconds, then pressed it again to confirm to show the charging screen which you see last.
That's all. My next step will probably be messing around with the transmitter and speed controllers, but I'm not sure how to go about any of it yet.


No comments:
Post a Comment