It's been weeks and weeks and weeks... and I haven't posted one thing. Of course it doesn't really matter since the person reading this probably got here automagically by being bored. So anyway, I was on a road trip with my family that was very exciting and not boring like you (sorry, I'm just imagining someone who has nothing better to do than read a blog by someone who barely has a clue about anything, including blogging). So the HobbyKing stuff for my quadcopter arrived shortly before we left. I also got some stuff from Home Depot for wiring the quadcopter. I will now go over it all:
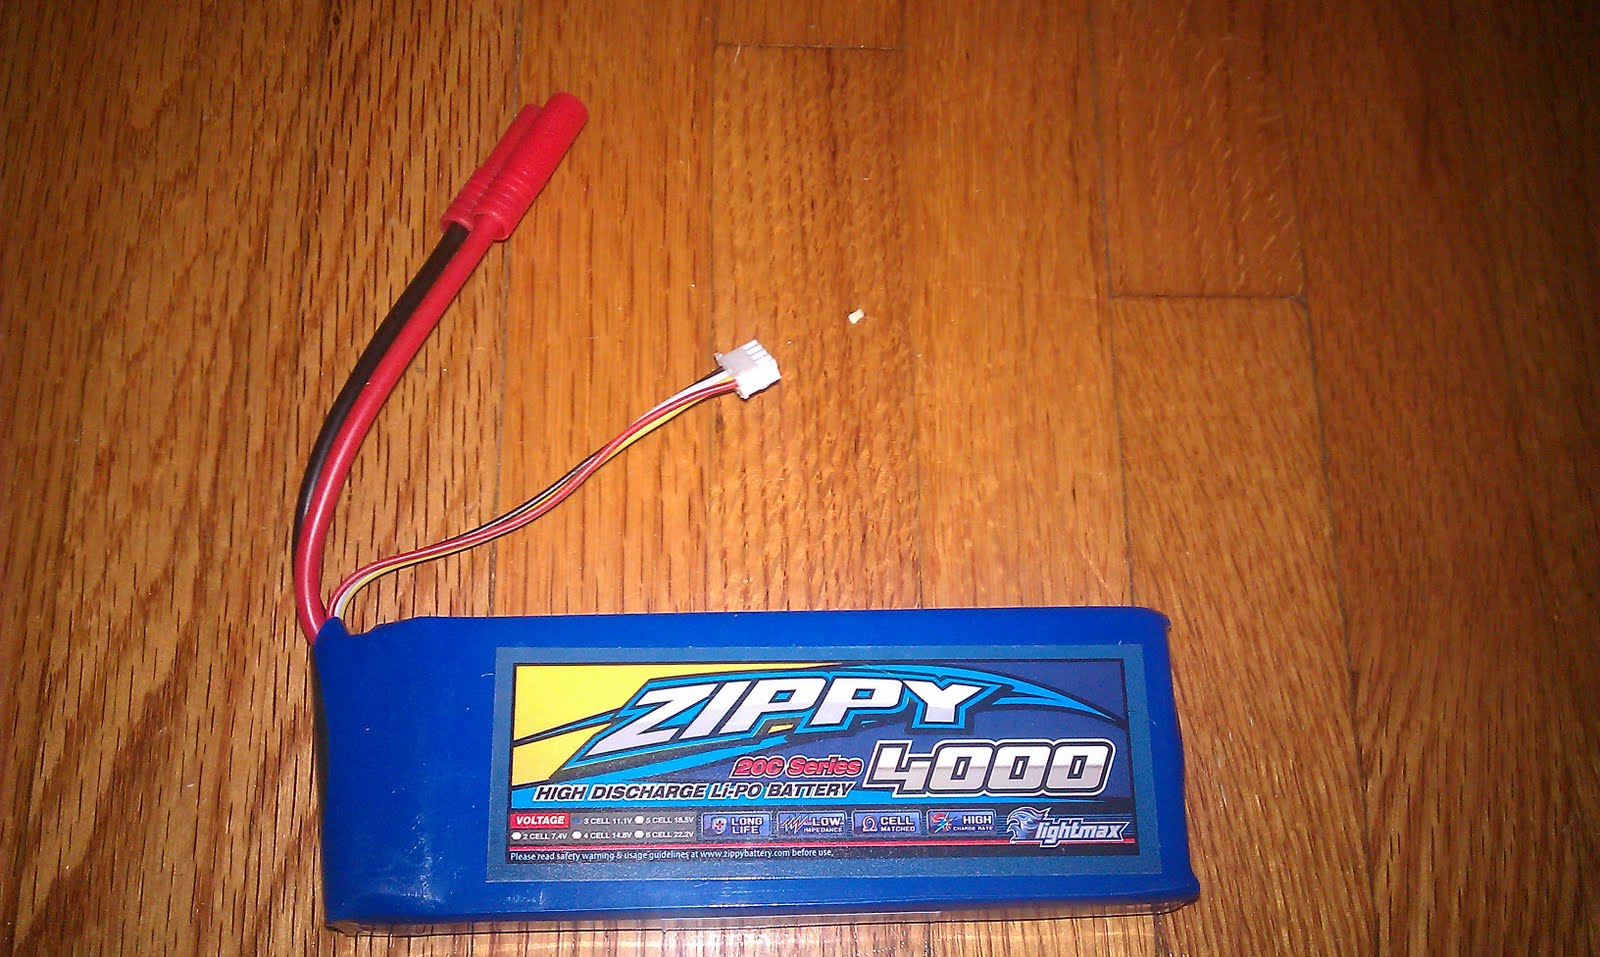
This... is the battery (dun dun DUUUUUUUUUUUUN). It gives electricity to the quadcopter so it can fly. That's what a battery is supposed to do. Batteries provide electricity. You learn something everyday, right? So this is supposed to be for the quadcopter, but it's 300 grams. I need my quad to be under 800, so it's rather heavy. However, I'm going to try it out anyway and hope it works.

This is the transmitter. It is basically a huge remote control that you program. It's made for airplanes, but I. Don't. Have. To. OBEY. To the left of the transmitter is the wire that connects it to the computer for programming. On the right is a glorified lanyard for hooking to the transmitter because it's really, really big. The bottom right is the thing it transmits to, which I'll be connecting to the Arduino, so it can do all the work and I don't have to. I don't know what the thing on the bottom left is, so if anyone who's actually bored enough to read this far knows, please tell me. It's the same connection that fits into the antenna, but the wire just loops around.

What you see here is the charger. It charges the battery. The battery because it's not like the battery can magically create electricity... the wall does... duh. Above it is what connects the charger to the wall. It balances and charges the cells of the battery. the only problem is you need to program it to the voltage, amperage, cell number, and a bunch of other stuff of the battery, because god forbid if it could do that itself. I can't really tell it anymore than how many cells there are. Beside it are different connectors for different batteries I don't have. LiPos connect to the side of the charger.
These are the four motors. Now, I know what you're thinking:
This guy is stupid! There's only one motor! Well, if you look closely, there are four boxes hidden in the background. They might be hard for a person with an IQ lower than OVER 9000 to see, but they contain three more motors. One is already opened and empty. The motors come with an O-ring and a propeller saver, and I didn't know how they worked until recently because a hero from AeroQuad told me. they attach like this:
This is the battery alarm, but who wouldn't know that? It buzzes and blinks when the battery is low, but I've heard it's hard to see or hear. I won't be using it until I'm done building and testing the quadcopter so I'm in no rush to unpackage it or anything. Plus, I have to change the code if I want to do that and I don't know enough about any of this to attempt that.
The last things that came from HobbyKing were the ESCs, or electronic speed controllers. They CONTROL the SPEED of the motors. That's why they're called SPEED CONTROLLERS. Get it? It's probably too complex, but don't worry. You seem quite intelligent. The only problem with these is that I have to program them with a series of complex movements from the joysticks of the transmitter, which I'm not ready to do until some other time when more likely than not, I'll say this exact sentence again.
This is the invoice from HobbyKing. Just so you know, all those prices are diluted down to 30% because, from what I have read, it helps the package get through customs more quickly.
I also got some things from Home Depot with my dad because I need wiring for the power supply and stuff:
This is the 16 gauge wire I need that comes directly from the battery and branches off eventually into the 18 gauge wire here:
This branches off the 16 gauge wire and goes to each ESC and the Arduino to provide power to all of them.
This is a wire cutter that my dad got because I guess I need it to cut and strip wires. That's all for now.
These are some connectors that will hopefully connect the wires to my battery. I don't think they will, because we just bought what Home Depot had and not what we were supposed to, but they may work.
This is the receipt from Home Depot. I think they skipped an item, but oh well. I have nothing interesting to say.
I have gotten a few things done in the long time I've had. For one, I uploaded the code to the Arduino, and that took like five minutes. I also put together the AeroQuad shield, which goes on top of the Arduino and everything connects to. I have a picture of it here:
This is the very useful soldering iron I used for the shield and will be using for the power supply and battery alarm monitor buzzer thing. It has two heats so I can solder small or large things, and it's helped a lot, even though I've only gotten one thing done with it.
So that's everything. It's now 11:25 and I need to go to sleep because I want to wake up early and do something interesting like relearn how to backflip or try a wallspin. I should start putting tutorials up here on how to do stuff. That would be cool. Of course, only I would read them because this blog is like a ghost town. If I stay in front of this text for much longer, I will get a "very minor case of serious brain damage" to quote Wheatley from Portal 2, the best game ever, which I think everyone should be required to play and every school required to teach. I might make a whole post dedicated to Portal and Valve. So, I'm leaving, and you're probably me.